How to Build Agents on Top of Your APIs with Agentspan
Many teams already have the hard part of API integration in place. They have a documented service with a usable OpenAPI or Swagger spec. The friction starts when an AI agent needs to use that API. Writing a wrapper for each endpoint is repetitive, easy to drift from the spec, and not especially interesting work.
This walkthrough focuses on how to cleanly expose your API surface to an agent so the agent can use it. The demo uses a small service catalog API, turns the published spec into runtime tools, narrows the operations visible to the agent, and then inspects the resulting run in the Agentspan UI.
What is Agentspan?
Agentspan is an execution layer for AI agents. You define agents in Python, but execution state lives on the server, not inside the local process that happened to start the run. That gives you durable workflow state, tool history, execution IDs, and a UI that shows what happened step by step.
To get started with Agentspan, download and install the Python library.
pip install agentspan
This walkthrough was developed and tested against agentspan==0.1.5. You can work through all the steps in the accompanying Jupyter notebook and support files.
What are Agentspan tools?
Agentspan currently exposes four main tool patterns:
@toolfor custom Python functionshttp_tool()for a single HTTP endpointapi_tool()for a full OpenAPI, Swagger, or Postman-described APImcp_tool()for tools exposed by an MCP server
If you need one fixed endpoint, http_tool() is usually the smallest option. If you need local Python code or dependencies, use @tool. If the API already publishes a machine-readable spec and you want the runtime to discover multiple operations from that spec, api_tool() is the better fit.
api_tool() currently supports an explicit spec URL, request headers, injected credentials, max_tools, and tool_names. In practice, tool_names matters quickly. Real APIs often expose more operations than one agent should see at once, so narrowing the visible surface is part of using api_tool() well rather than an optional cleanup step.
What this demo builds
The demo service acts like a small internal operations API. It exposes service ownership, latest production deployment data, and runbook URLs for a few services. The agent’s job is to answer an on-call style question: who owns checkout-api, what changed in the latest production deploy, and which runbook should the engineer open first?
If you want to follow along from a clean environment, the minimal setup is:
pip install agentspan==0.1.5
export OPENAI_API_KEY=your-own-key
agentspan server start --port 6770
For the full end-to-end execution, refer to the demo directory. It includes the Jupyter notebook and the supporting files the notebook runs against. The rest of this article keeps the code snippets short and focuses on the reasoning behind the setup.
Turn an OpenAPI Document into Agent Tools with api_tool()
The service in this demo publishes an OpenAPI document. In the Agentspan Python library, api_tool() is the tool type that turns a published API description into agent-callable runtime tools. In this snippet, the code does two things: it defines a scoped API-backed tool set from the published spec, and it defines an agent that will use only those operations when it answers service questions.
from agentspan.agents import Agent, AgentRuntime, api_tool

# Build a runtime tool set from the published OpenAPI document.
service_api = api_tool(
    url="http://127.0.0.1:8010/openapi.json",
    name="service_catalog_api",
    # Expose only the three operations this assistant actually needs.
    tool_names=["get_service_details", "get_latest_deployment", "get_service_runbook"],
    max_tools=3,
)

# Define the agent that will call those discovered API operations.
assistant = Agent(
    name="service_ops_assistant",
    model="openai/gpt-4o-mini",
    instructions=(
        "You help on-call engineers answer questions about service ownership, "
        "production deployments, incidents, and runbooks. Use the API tools for facts."
    ),
    tools=[service_api],
)
The important shift is that the code points to the published API description instead of duplicating endpoint definitions in Python. The runtime fetches the spec, resolves the selected operations, and turns them into tool calls the agent can use in a normal execution.
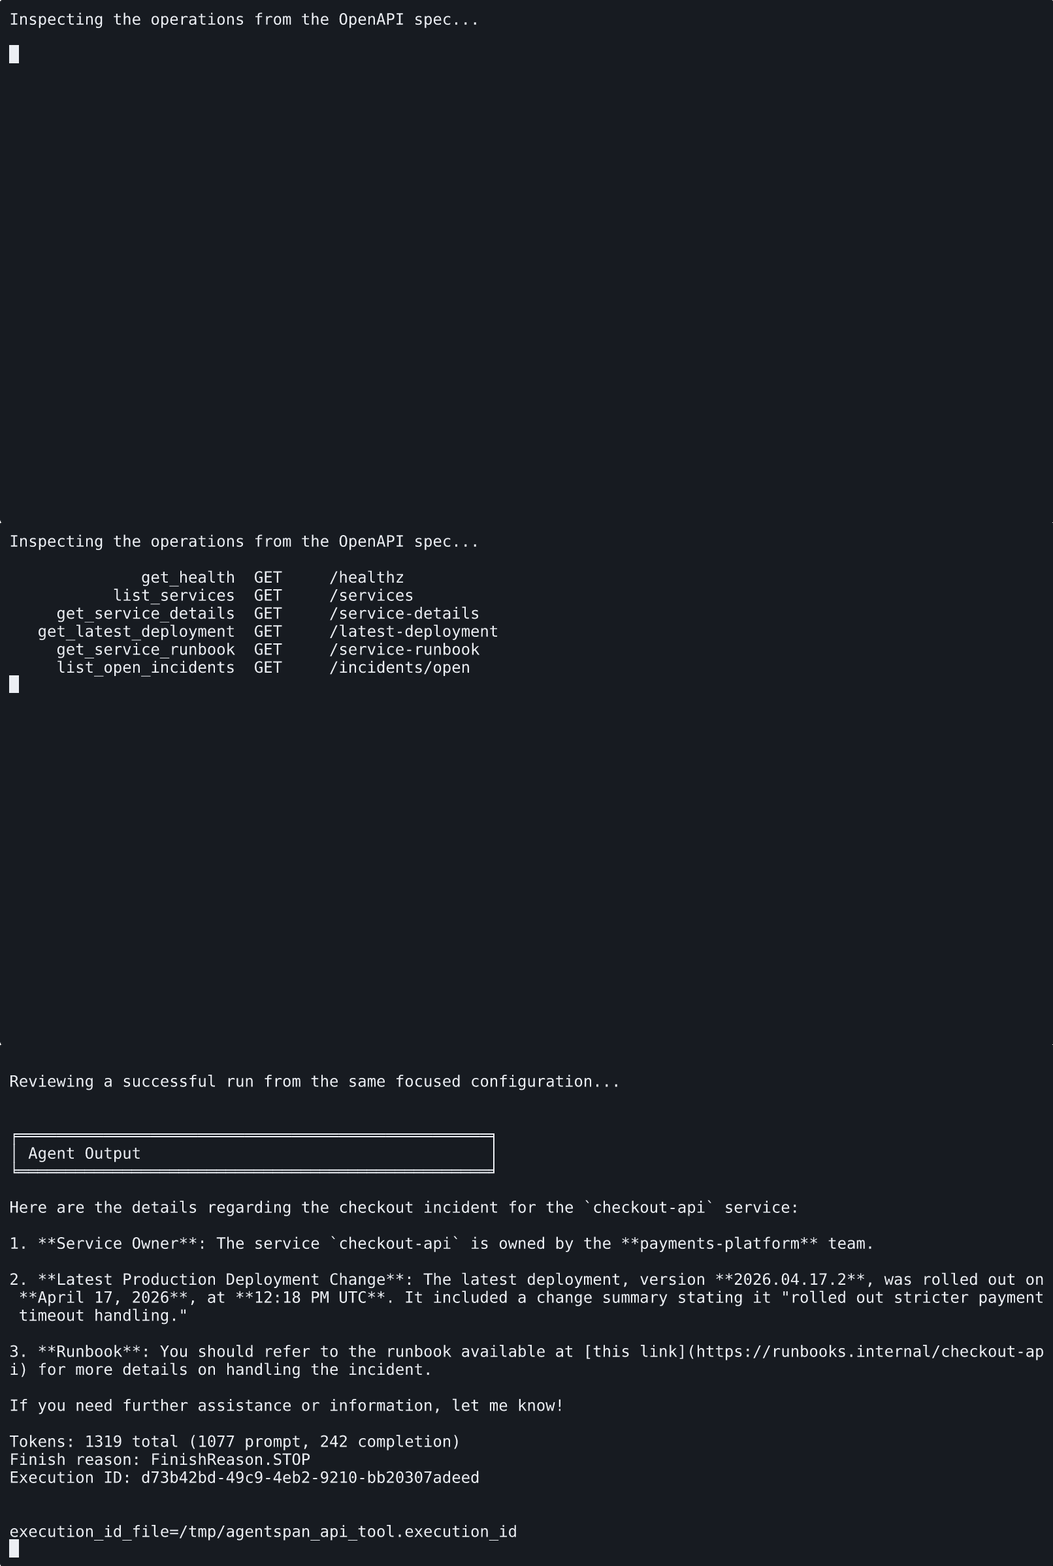
The notebook starts by inspecting the published operations, then runs the same focused api_tool() configuration used in the final agent.
Scope the API surface with tool_names
Once an API is connected, the next question is which operations the agent actually needs. The service publishes more operations than the assistant needs, but this agent only has to answer ownership, deployment, and runbook questions. The first step is to expose only that three-operation slice of the API surface:
# Keep the API surface aligned with the questions this assistant is allowed to answer.
service_api = api_tool(
    url="http://127.0.0.1:8010/openapi.json",
    name="service_catalog_api",
    tool_names=["get_service_details", "get_latest_deployment", "get_service_runbook"],
    max_tools=3,
)
That does two things:
- it reduces the number of tools the model has to choose from
- it makes the execution graph and task history easier to interpret later
If the prompt only needs owner and deployment status, narrow the same API surface again and drop the runbook operation entirely:
# Build a smaller tool set for prompts that do not need runbook lookup.
service_api = api_tool(
    url="http://127.0.0.1:8010/openapi.json",
    name="service_catalog_api",
    tool_names=["get_service_details", "get_latest_deployment"],
    max_tools=2,
)
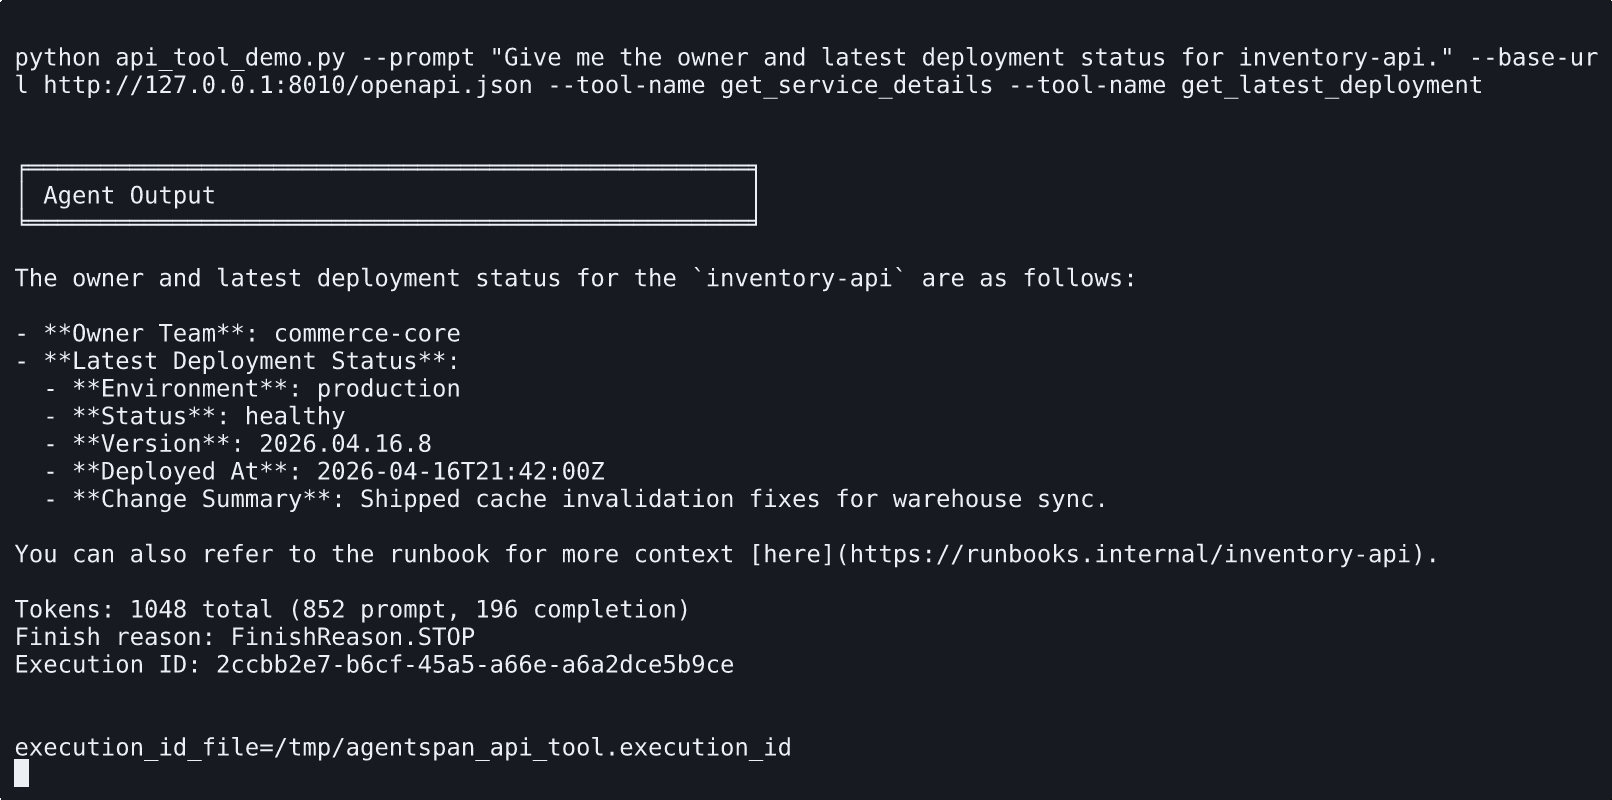
This terminal walkthrough uses a smaller tool_names set when the prompt only needs two facts from the API.
Inspect the run in the UI
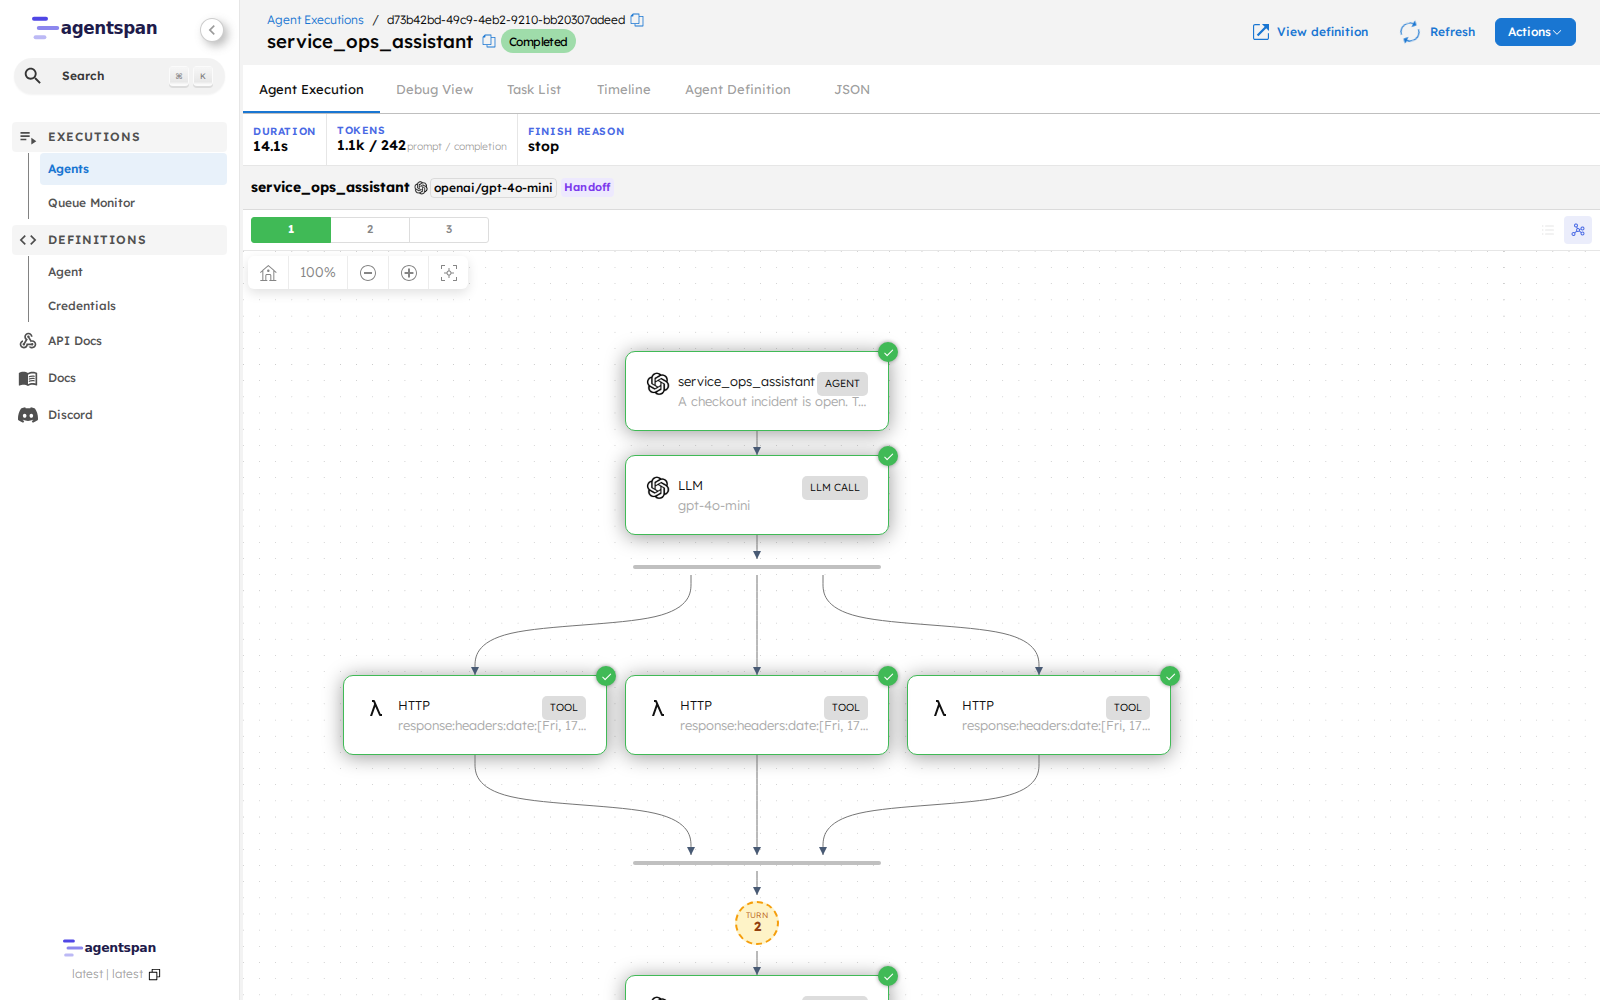
Once the agent runs, the value of server-side execution becomes visible. The UI shows the same execution ID the notebook returned, along with the LLM step, the discovered HTTP operations, and the final answer.

The execution graph shows one LLM step followed by the HTTP operations discovered from the OpenAPI spec.
The Task List view is useful when you want to see how the runtime prepared and filtered the API surface before the actual HTTP calls:

The task list makes the discovery pipeline visible: fetch, prepare, filter, resolve, and then execute the selected operations.
And the output panel gives you the final answer under the same execution ID:

The final output stays attached to the same server-side execution, so you can move from the answer back to the underlying tool activity.
The practical takeaway is not just that api_tool() can call an API. It is that you can keep the API spec as the source of truth, expose only the operations an agent actually needs, and still get a complete execution trail in the runtime UI.